Usage
Taking a backup on the old system
Install Aptik and start it from the Application Menu

Connect a pen drive or external hard disk and select it as the backup location.
Note
The drive must be formatted with a Linux file system (like EXT4, BTRFS, etc). Don’t use a drive formatted with FAT or NTFS.
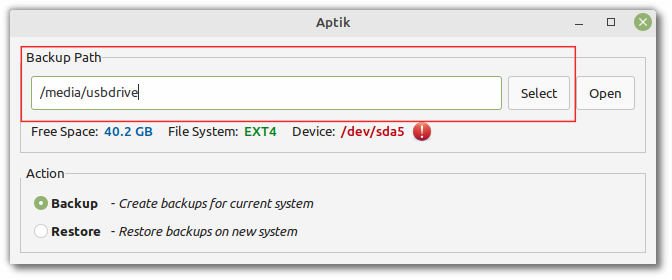
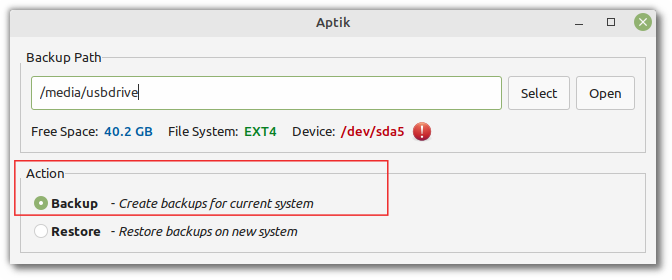
Select action Backup
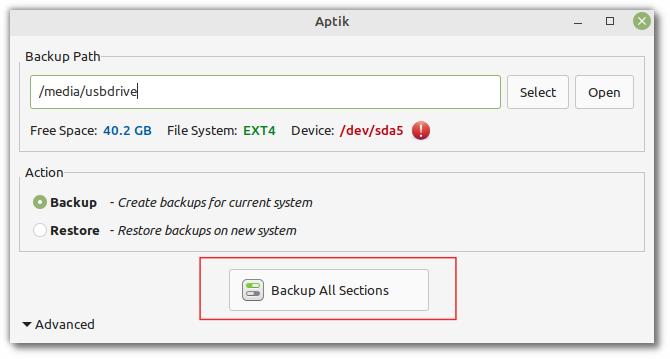
Click the button Backup All Sections
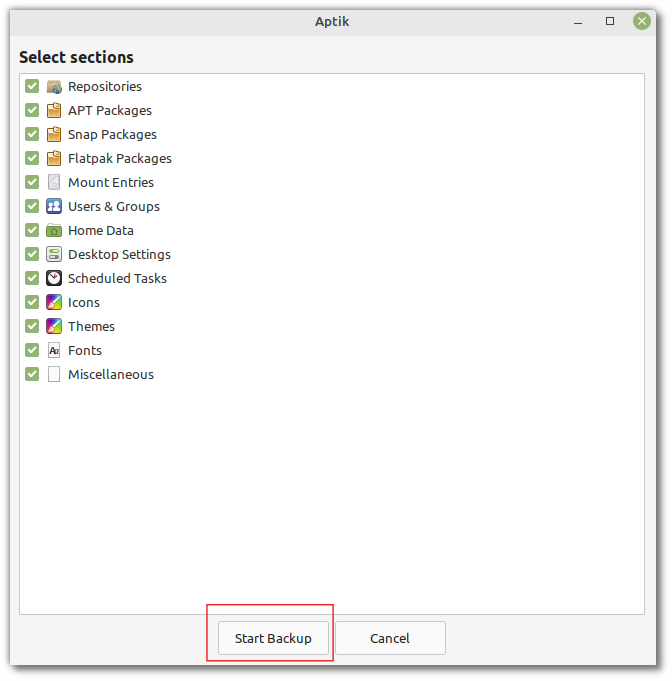
Click the button Start Backup
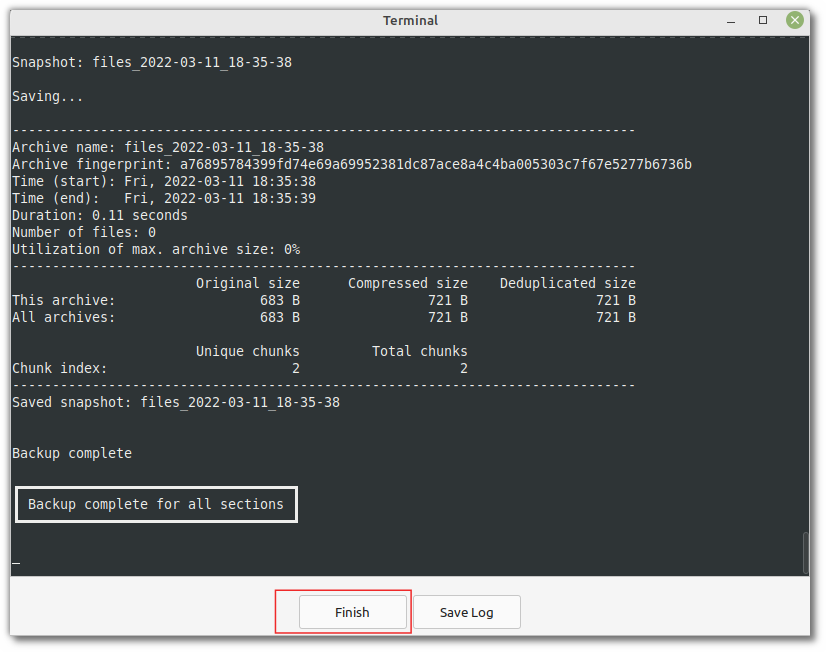
Wait for backup to complete. Click Finish to close the app.
Restoring backups on the new system
Reinstall the operating system.
Install Aptik and start it from the Application Menu

Connect the pen drive or external hard disk and select the folder that contains the backups.

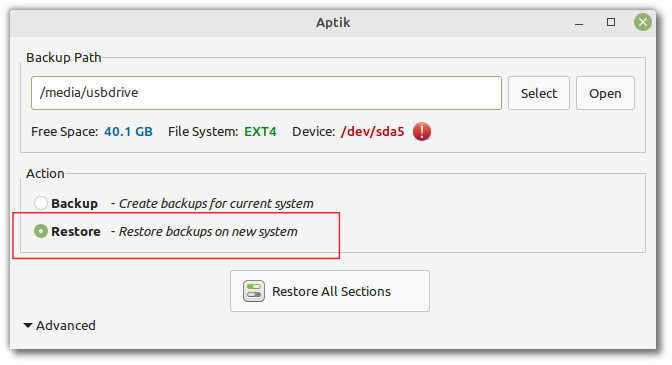
Change the action to Restore
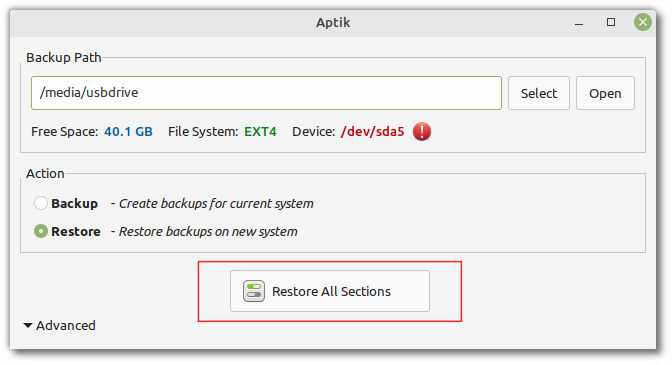
Click the button Restore All Sections
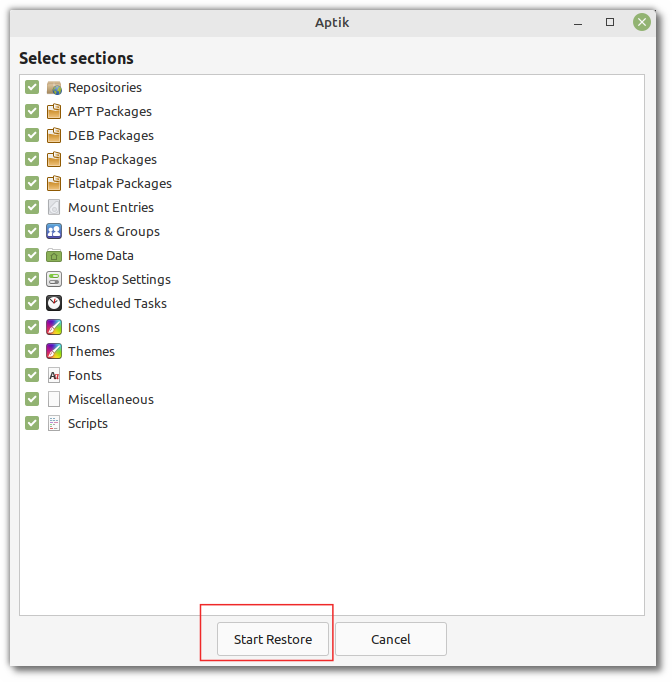
Click the button Start Restore
Note
If you keep your home directory on a separate partition, you can unselect the sections for Home Data and Desktop Settings.
Wait for restore to complete. Downloading and installing software packages can take a long time depending on the number of packages to download and the speed of your internet connection.
Reboot the system after restore is complete.
Backup All Sections instead of one by one
It is recommended to backup and restore all items in a single step using the Backup All Sections button in the main window.
We can also backup each section one by one using the buttons for each section. This is not recommended since it takes more steps, and we are more likely to make mistakes while selecting and unselecting the items.
Note
The best options for each section are already pre-selected. If you skip any sections or change the default settings, the final result may not be what you expect.

Command-line Usage
When using Aptik on the command line,
sudo aptik --backup-all and sudo aptik --restore-all are one-line
commands for taking a backup of your system and restoring it on a
new system. You can safely use these 2 commands and skip the rest
of this document, if you are not interested in knowing the
details of each step.
Backup All
Command-line syntax:
sudo aptik --backup-all
This will take a backup of all sections and save it to the current directory.
Use the option --basepath <path> to specify a different backup location.
Restore All
Command-line syntax:
sudo aptik --restore-all
This will restore all sections from the backups located in current directory.
Use the option --basepath <path> to specify a different backup location.
Remove All
Command-line syntax:
sudo aptik --remove-all
This will remove all backups that were created by Aptik in the current directory.
Tip
When in doubt, try doing the backup/restore again without making any changes to the default settings. Start with a new backup folder so that the previous settings are not reused.
Tip
Aptik will remember the changes that you make for each section. These are saved in the backup path. To start fresh, use a new backup folder, or delete all files in the existing folder.
Use cases
Move to the next release of a Linux distribution
If you avoid using the 6-monthly releases of Ubuntu (or any other Debian/Ubuntu-based distro) because of the hassle involved in setting up the system after installation, then Aptik provides a simple solution for this.
Take a full backup with Aptik on the old system.
Format your system partition and do a clean install of the new version of Ubuntu.
Boot up the new system and do a full restore with Aptik.
Everything will be restored to the way it was. If you were browsing a web page with Chrome (or any other web browser) before taking the backup, you will find the same page open in Chrome after doing the restore.
All you need is one hour of time and a reasonably fast internet connection for downloading and installing packages.
Aptik restores:
Your desktop layout, application settings, wallpapers, themes, etc.
Your home directory data along with everything in it – your SSH keys, application config files, documents, downloads, etc
Extra software repositories added by you
Extra packages installed by you, including Flatpak and Snap packages. It knows which packages were installed by you and which packages are part of the distribution.
User accounts, including login credentials and group memberships.
Extra cron jobs added by you (scheduled tasks and scripts)
Storage devices mounted to different directories using fstab/crypttab.
It doesn’t restore everything – otherwise there would be no point of re-installing your system.
Any customisations that you may have done to your system files (outside of your home directory, and apart from what is listed above) – is not included in the backups.
Create a portable disk when travelling
Aptik is also useful when you need to create a copy of your system.
Consider a scenario where you are going on vacation and don’t wish to take your laptop with you. You can use Aptik to create a copy of your system on a portable hard disk or SSD.
Take a full backup with Aptik on your laptop or PC
Format the portable hard disk or SSD and install Ubuntu on it
Boot up the new system and do a full restore with Aptik
This will give you a system that is same as the one from which you took the backup.
You can plug in your portable disk or SSD to any computer while you are on vacation, boot from it, and have a system that is similar to the one you use at home.
You can of course do all this manually by spending a few hours trying to remember how your system was setup and re-doing the customizations on the new system. But you are likely to forget things, and this is not something you will feel like doing unless you have the time for it. Aptik provides a simple one-click alternative.
Duplicate the same setup on multiple systems
You can restore the Aptik backups on any number of machines to recreate the same setup. Want to set up 100 systems with the same apps and desktop settings? Simply set up one machine, take a backup, and restore the backup on all other machines.